

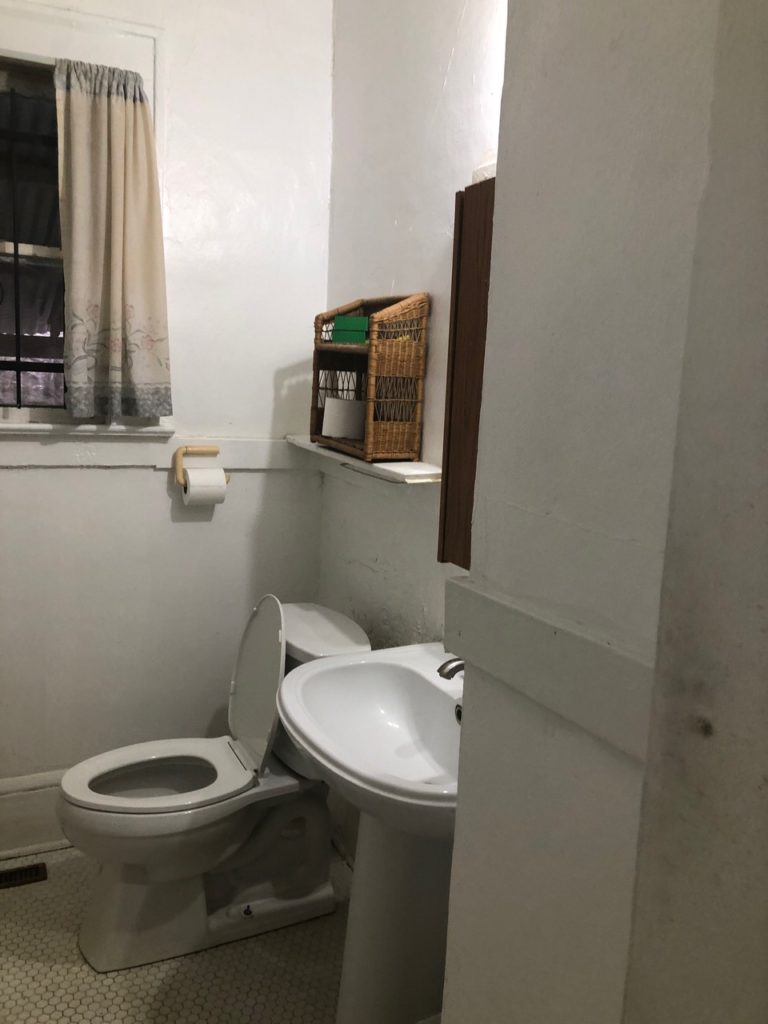
Hey, so we tackled this bathroom remodel in a 1930s house recently, and let me tell you, it was a trip down memory lane. The original setup had this ancient pedestal sink with zero storage, a worn-out cast iron tub, and those classic white hexagon floor tiles that had seen better days. Plus, 10-inch wooden baseboards and security bars on the window – a real blast from the past.


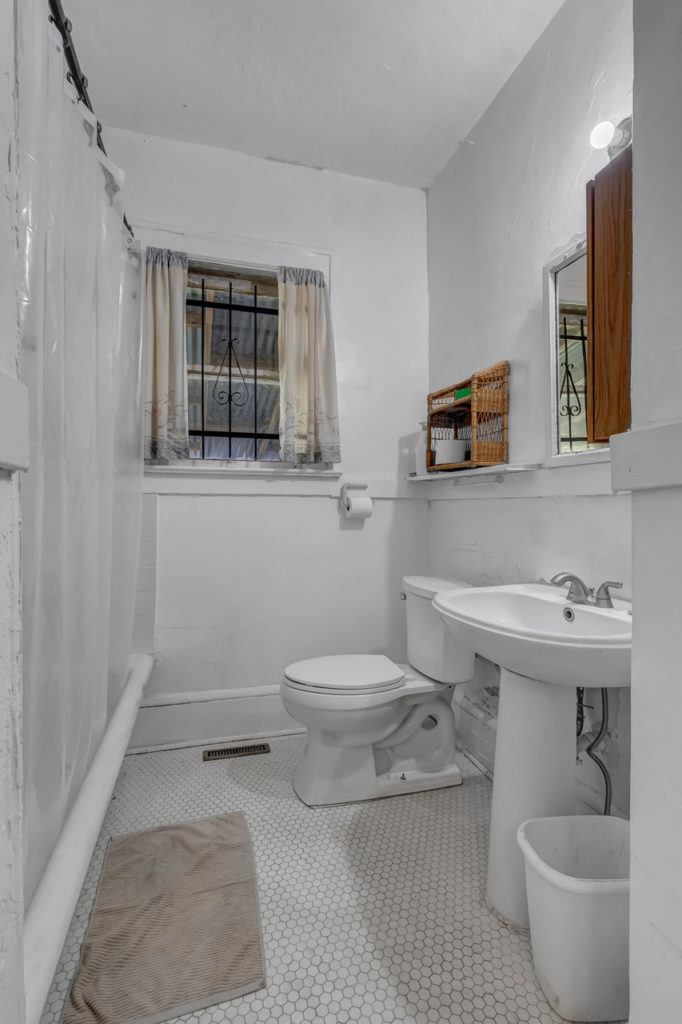
First things first, we realized everything had to go, including those original tiles that were pretty much falling apart. So, we got the demo crew in, measured out the space, and started brainstorming a new layout. We had this idea from some inspiration photos we found – we were thinking deep blues or greens to give the bathroom a bold vibe.
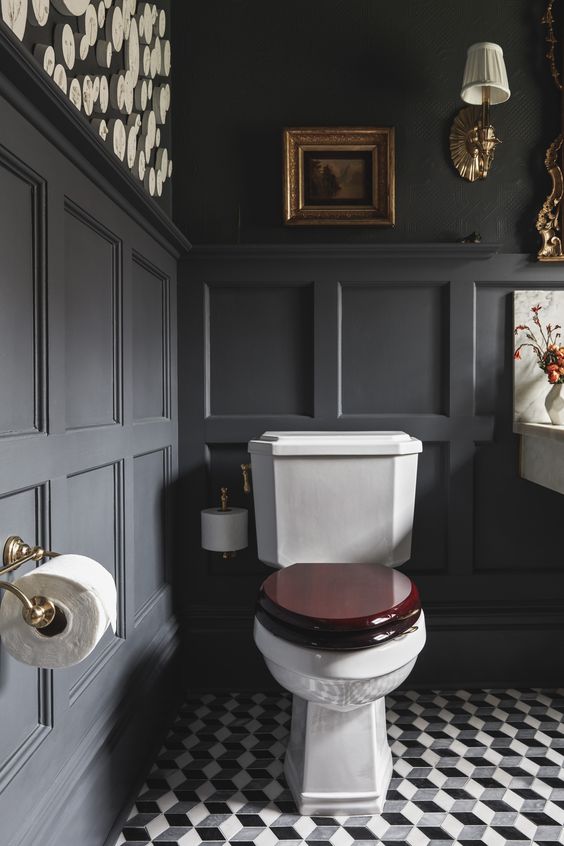


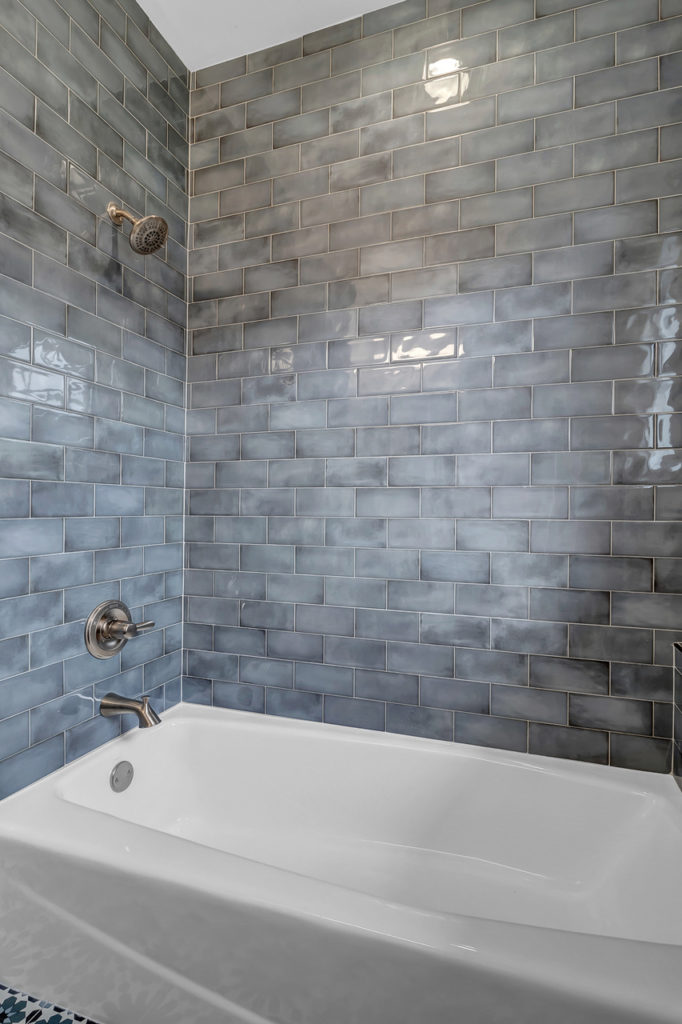
After a bit of searching, we settled on these rich blue tiles for the shower and Spanish floor tiles to add a pop of color as soon as you walked in. And storage was a big thing, so we grabbed a vanity that could actually hold towels and toiletries, a big upgrade from that old pedestal sink.
Now, the cast iron tub had to go. The departure of the old cast iron tub allowed for a new one to take its place, accompanied by a strategically placed shelf extending towards the window wall—a small yet creative solution to make use of the extra space. Perfect spot for a candle, some plants, or just your usual toiletries.
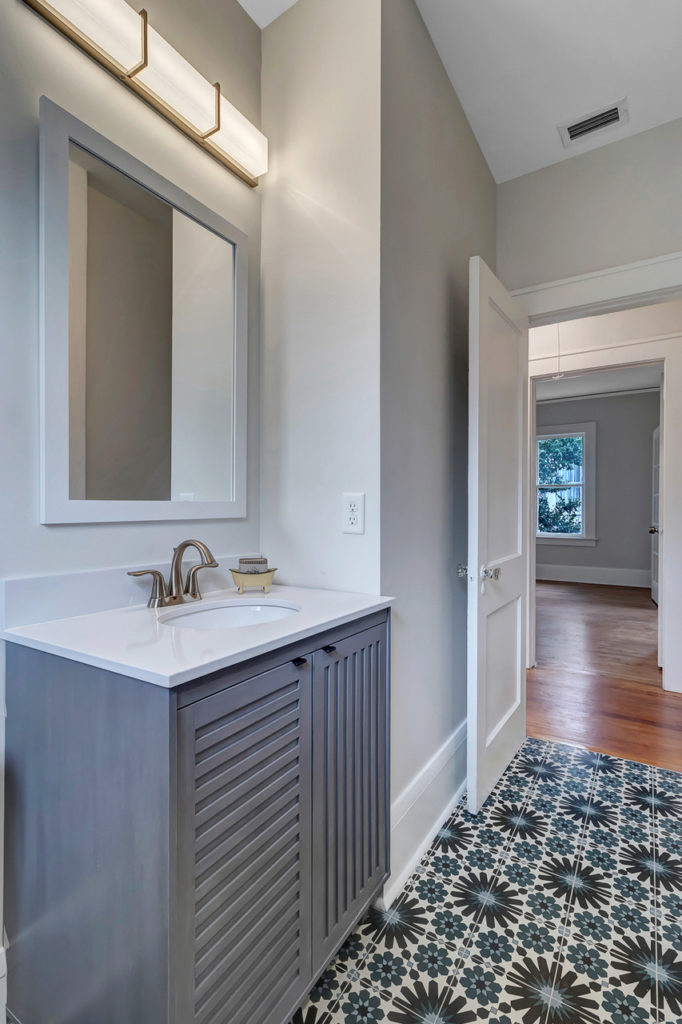
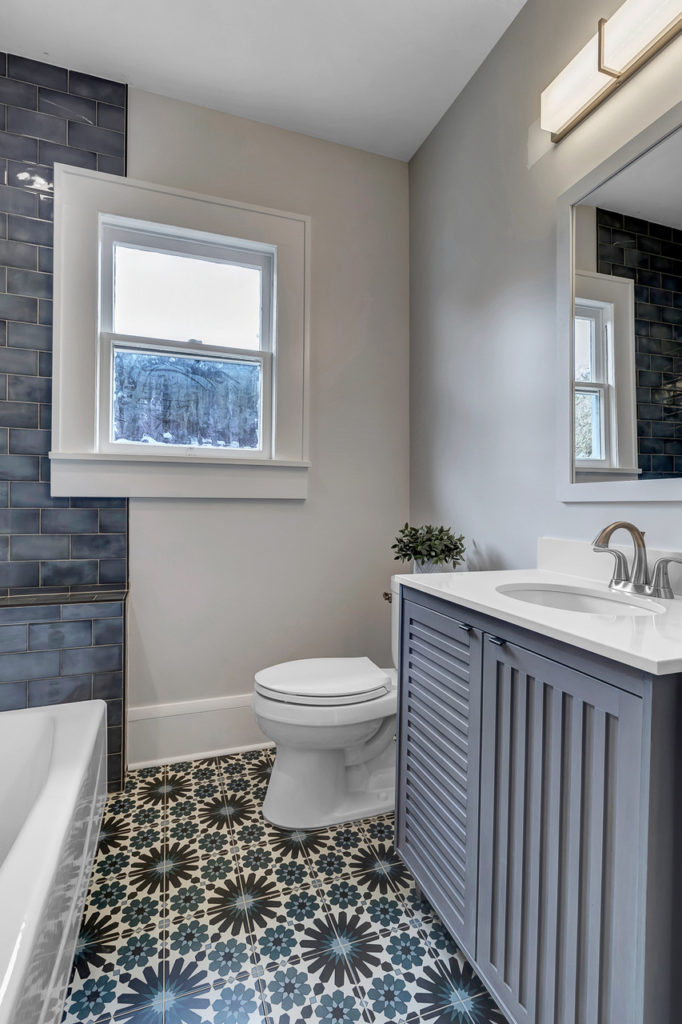
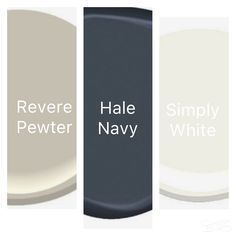
We also modernized the lighting, ditched those old-school security bars from inside the window. To achieve a fresh, clean look, 1/4″ laminate drywall was added to the ceiling, gracefully covering the existing plaster. Lastly, a beautiful, off-white/greyish hue was used on the walls, setting the stage for the vibrant tiles and adding a touch of modern elegance.


So that’s the story of how we turned a time capsule bathroom into this vibrant, functional space. As the dust settles and the echoes of renovation fade, this bathroom emerges as a timeless space, ready to embrace the years to come. It’s a mix of the old and the new, and I gotta say, it’s looking pretty awesome now.
What do you think?